Rubber flooring is renowned for its durability and resilience, but even the toughest surfaces can suffer damage over time. Whether you're dealing with a tear in your gym's rubber tiles or a gouge in your commercial kitchen's flooring, knowing how to properly repair rubber flooring can save you significant replacement costs and extend the life of your investment.
Assessing the Damage
Before diving into repairs, it's crucial to evaluate the extent of the damage. This will determine whether a DIY fix is appropriate or if you need professional assistance.
Types of Rubber Flooring Damage
- Surface scratches: Minor cosmetic issues that don't penetrate deeply
- Gouges and cuts: Deeper damage that exposes the underlayer
- Tears and rips: Significant damage requiring patching or replacement
- Lifting or curling edges: Common in Melbourne's variable climate conditions
- Discolouration or staining: Often caused by chemical exposure or UV damage
Tools and Materials You'll Need
Gather these supplies before starting your repair project:
- Rubber flooring adhesive (suitable for your specific flooring type)
- Seam sealer or rubber repair compound
- Utility knife with sharp blades
- Straight edge or ruler
- Replacement rubber tiles or sheet material (if needed)
- Cleaning solution (pH-neutral)
- Roller or heavy object for applying pressure
- Sandpaper (fine grit)
- Clean cloths
Step-by-Step Repair Process
Step 1: Clean the Damaged Area
Thoroughly clean the damaged section and surrounding area with a pH-neutral cleaning solution. Remove all dirt, debris, and moisture. This is particularly important in Melbourne, where humidity can affect adhesive performance. Allow the area to dry completely before proceeding.
Step 2: Prepare the Surface
For minor scratches, lightly sand the affected area with fine-grit sandpaper to smooth rough edges. For deeper damage, use a utility knife to trim away any loose or frayed rubber, creating clean edges that will bond better with repair materials.
Step 3: Apply Adhesive or Repair Compound
For small cuts and gouges: Apply rubber repair compound directly into the damaged area, slightly overfilling to account for settling. Smooth with a putty knife and allow to cure according to manufacturer instructions.
For lifting edges: Lift the rubber flooring carefully, apply adhesive to both the floor and the underside of the rubber, then press firmly into place. Use a roller to ensure proper contact and remove air bubbles.
For larger tears: You may need to patch the area with a piece of matching rubber flooring. Cut a patch slightly larger than the damaged area, apply adhesive, and press firmly into place.
Step 4: Secure and Weight the Repair
Place heavy objects or weights over the repaired area to ensure proper bonding. Leave weighted for at least 24 hours, or as recommended by the adhesive manufacturer. Melbourne's cooler temperatures may require extended curing times.
Step 5: Seal the Repair
Once the adhesive has fully cured, apply seam sealer around the edges of patches or repaired areas. This prevents moisture infiltration and ensures a seamless finish.
Prevention Tips for Long-Lasting Rubber Flooring
Prevention is always better than repair. Follow these tips to minimise future damage:
- Use protective mats under heavy equipment in gyms and workshops
- Implement regular cleaning schedules with appropriate products
- Address spills immediately, especially chemicals or oils
- Ensure proper installation with adequate adhesive coverage
- Maintain consistent indoor temperatures and humidity levels
- Conduct regular inspections to catch minor issues early
When to Call the Professionals
While many rubber flooring repairs are DIY-friendly, some situations require professional expertise. Consider calling specialists if you're dealing with:
- Extensive damage covering large areas
- Flooring in safety-critical areas like playgrounds (must meet AS 4422 standards)
- Damage to specialised flooring with specific performance requirements
- Recurring issues that suggest underlying installation problems
Conclusion
Repairing damaged rubber flooring doesn't have to be daunting. With the right tools, materials, and techniques, you can restore your flooring's appearance and functionality while extending its lifespan. Remember that proper maintenance and prompt attention to minor damage will help you avoid costly repairs down the track. For complex repairs or safety-critical applications, don't hesitate to consult with experienced rubber flooring professionals who understand Australian standards and Melbourne's unique environmental conditions.
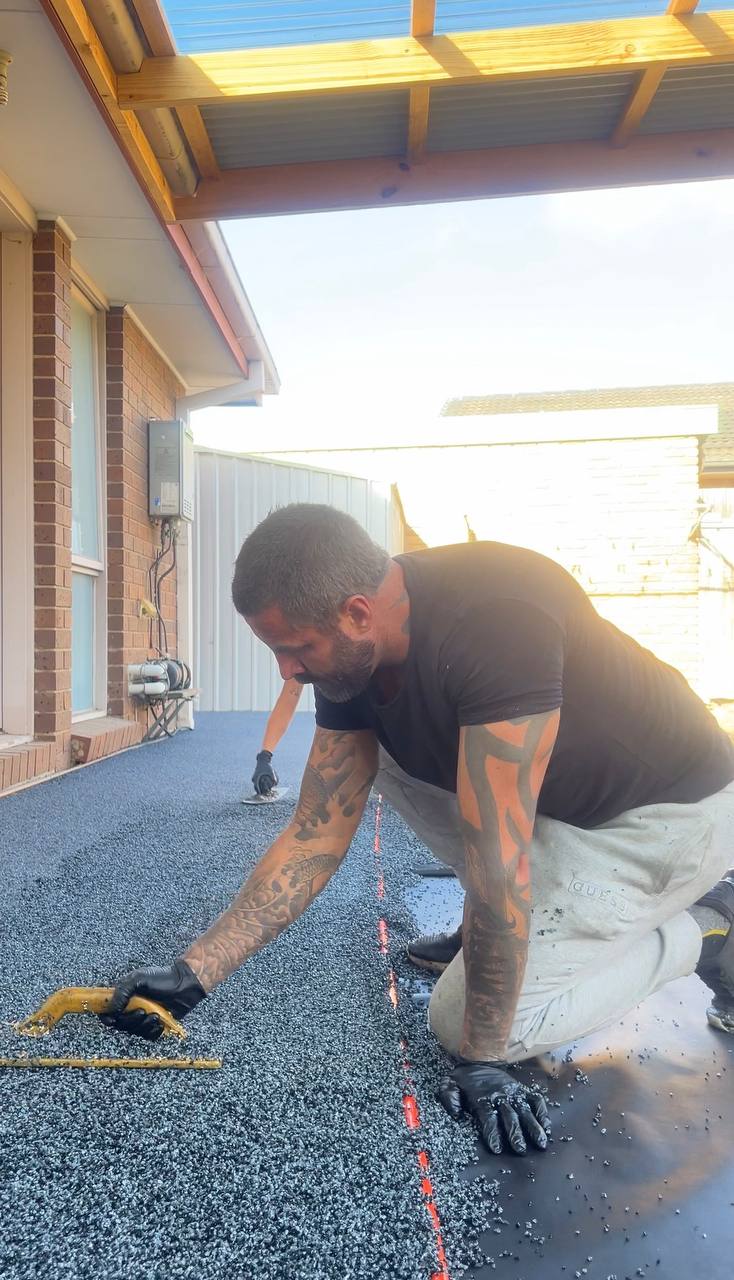
Written by Mitchell, Founder of Rubber Floor Solutions
Mitchell has 10+ years hands-on experience installing wetpour rubber flooring across Victoria. Installations for playgrounds, gyms, pools and equine facilities, with playground depth matched to fall height. Based in Melbourne, servicing all of Victoria.